
How to iron on fabric patches – 6 steps that make them stick
Published: date by: author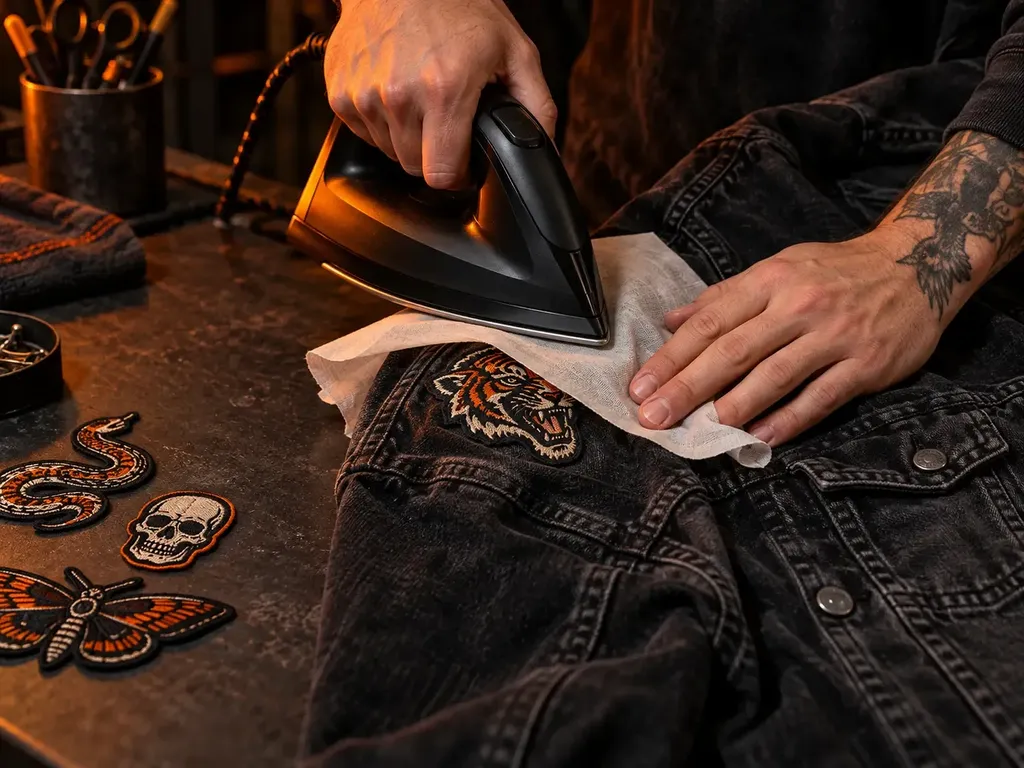
Dunken guide
Six straightforward steps for iron-on fabric patches, plus when to put the iron away and use a needle or hook-and-loop backing.
How do you iron on a fabric patch?
First check that both the patch and the garment can take heat. Position the fabric patch, cover it with a thin cotton cloth and press with a warm iron with the steam switched off. Let the adhesive cool completely before testing the edges. This method only works for heat-activated adhesive; always compare the backing among Dunken's patches and fabric badges.
Short answer: Use a suitable surface, a protective cloth, dry heat, firm pressure and full cooling time. Start carefully and repeat briefly instead of scorching the fabric or adhesive.
Can every patch be ironed on?
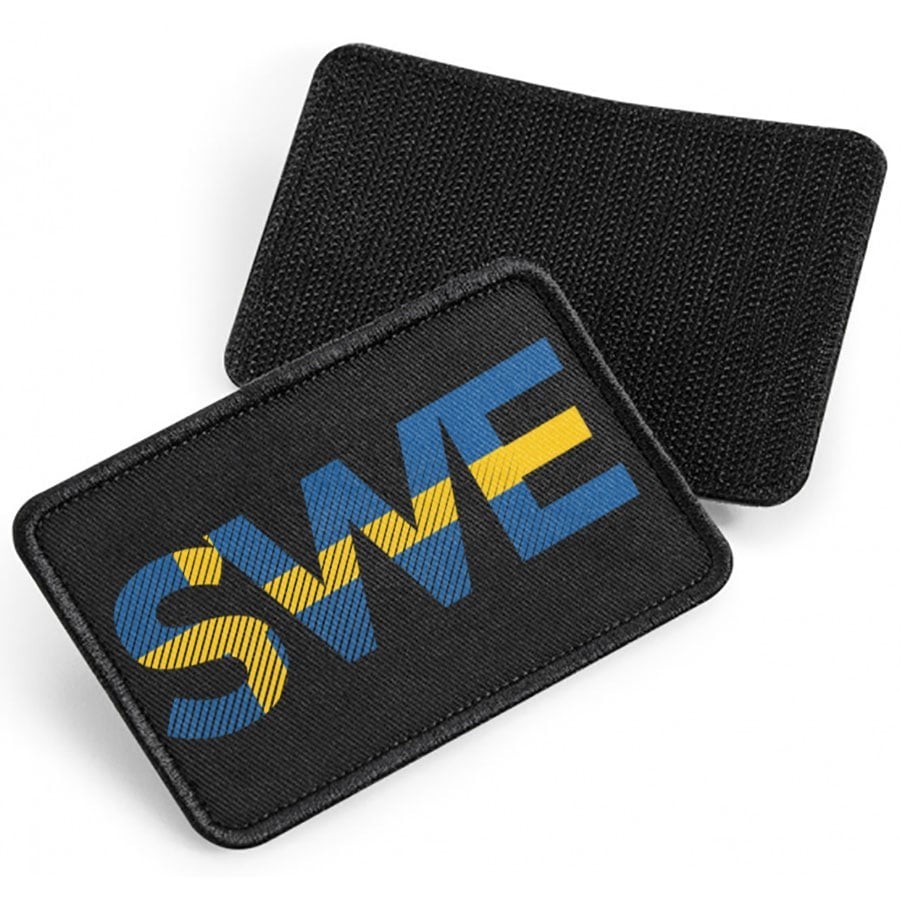
No. Only iron a patch that is explicitly described as having an adhesive or iron-on backing. Hook-and-loop patches attach to a compatible loop panel, while badges without adhesive normally need to be sewn on. PVC patches and heat-sensitive details can warp under an iron.
| Backing | Correct method | Check |
|---|---|---|
| Heat adhesive | Iron pressing | Temperature and base fabric |
| Hook backing | Attach to loop panel | Panel compatibility |
| No fastening surface | Sew on | Needle, thread and fabric |
Which garments can take an iron-on patch?
Firm cotton and denim surfaces are often easiest, but the care label makes the final call. Avoid direct heat on waterproof membranes, coated fabrics, faux leather, highly elastic materials and synthetics that may melt or develop shiny marks. Choose a flat area without seams, pocket edges or zips underneath.
Sewing may be gentler on thin garments. For bags, a model with a purpose-built panel is often the better choice; see Dunken's backpacks and read the product information before applying heat.
How to iron on a fabric patch in 6 steps
- Read both sets of instructions. Check the patch backing and the garment's washing and ironing symbols.
- Make the area clean and flat. Remove dirt and fabric-softener residue, let the garment dry and place it on a hard, heat-resistant surface.
- Test the position. Measure, straighten the design and make sure there are no seams under the edges.
- Protect the design. Put a thin, clean cotton cloth between the iron and the patch. Switch off the steam.
- Press, do not drag. Use the lowest heat the manufacturer says is sufficient. Apply steady pressure in short intervals without sliding the iron back and forth.
- Let it cool. Wait until the adhesive is cold, test the edges gently and repeat one short interval through the cloth if a corner lifts.
What temperature and pressing time should you use?
There is no safe universal setting. The right temperature and pressing time depend on the adhesive, the patch thickness and the garment fibre. Always follow the product instructions and care label; if they conflict, choose another attachment method. Start at the lower permitted heat and check after a short pressing interval.
Warning: Do not simply increase the heat when an edge lifts. Melting synthetic fibres, a shiny surface, an unusual smell or discolouration means you should stop immediately.
Why does a fabric patch come loose?
- Wrong patch: The backing has no heat adhesive or is made for a loop panel.
- Uneven surface: Seams and folds stop the adhesive from making full contact.
- Steam or moisture: Adhesive grips less reliably when the base is damp.
- Too little pressure: Heat without steady pressure may not be enough.
- The garment is bent too soon: The adhesive needs to cool flat before the attachment is stressed.
Should you sew after ironing?
Not always, but a few discreet stitches around the edge add security on garments that are washed often or flex repeatedly. Sewing is also useful when the adhesive does not suit the material but a needle does. Needle holes can damage waterproof garments, so follow the garment maker's advice.
How do you wash a garment with a patch?
Wait as long as the patch instructions require before the first wash. Turn the garment inside out, use a gentle cycle and avoid high tumble-dryer heat. Check the edges after the garment has dried. Removable hook-and-loop patches are best taken off before washing.
To compare designs, materials and attachment types in one place, browse more of Dunken's accessories.
Choose the right patch before adding heat
Check the backing first, choose a design that fits the surface and attach it using the method the product was actually made for.